Your Website Deserves a Personal Touch 🎨
Stop building generic websites. Here's how to create custom, brand-aligned animated graphics using AI.
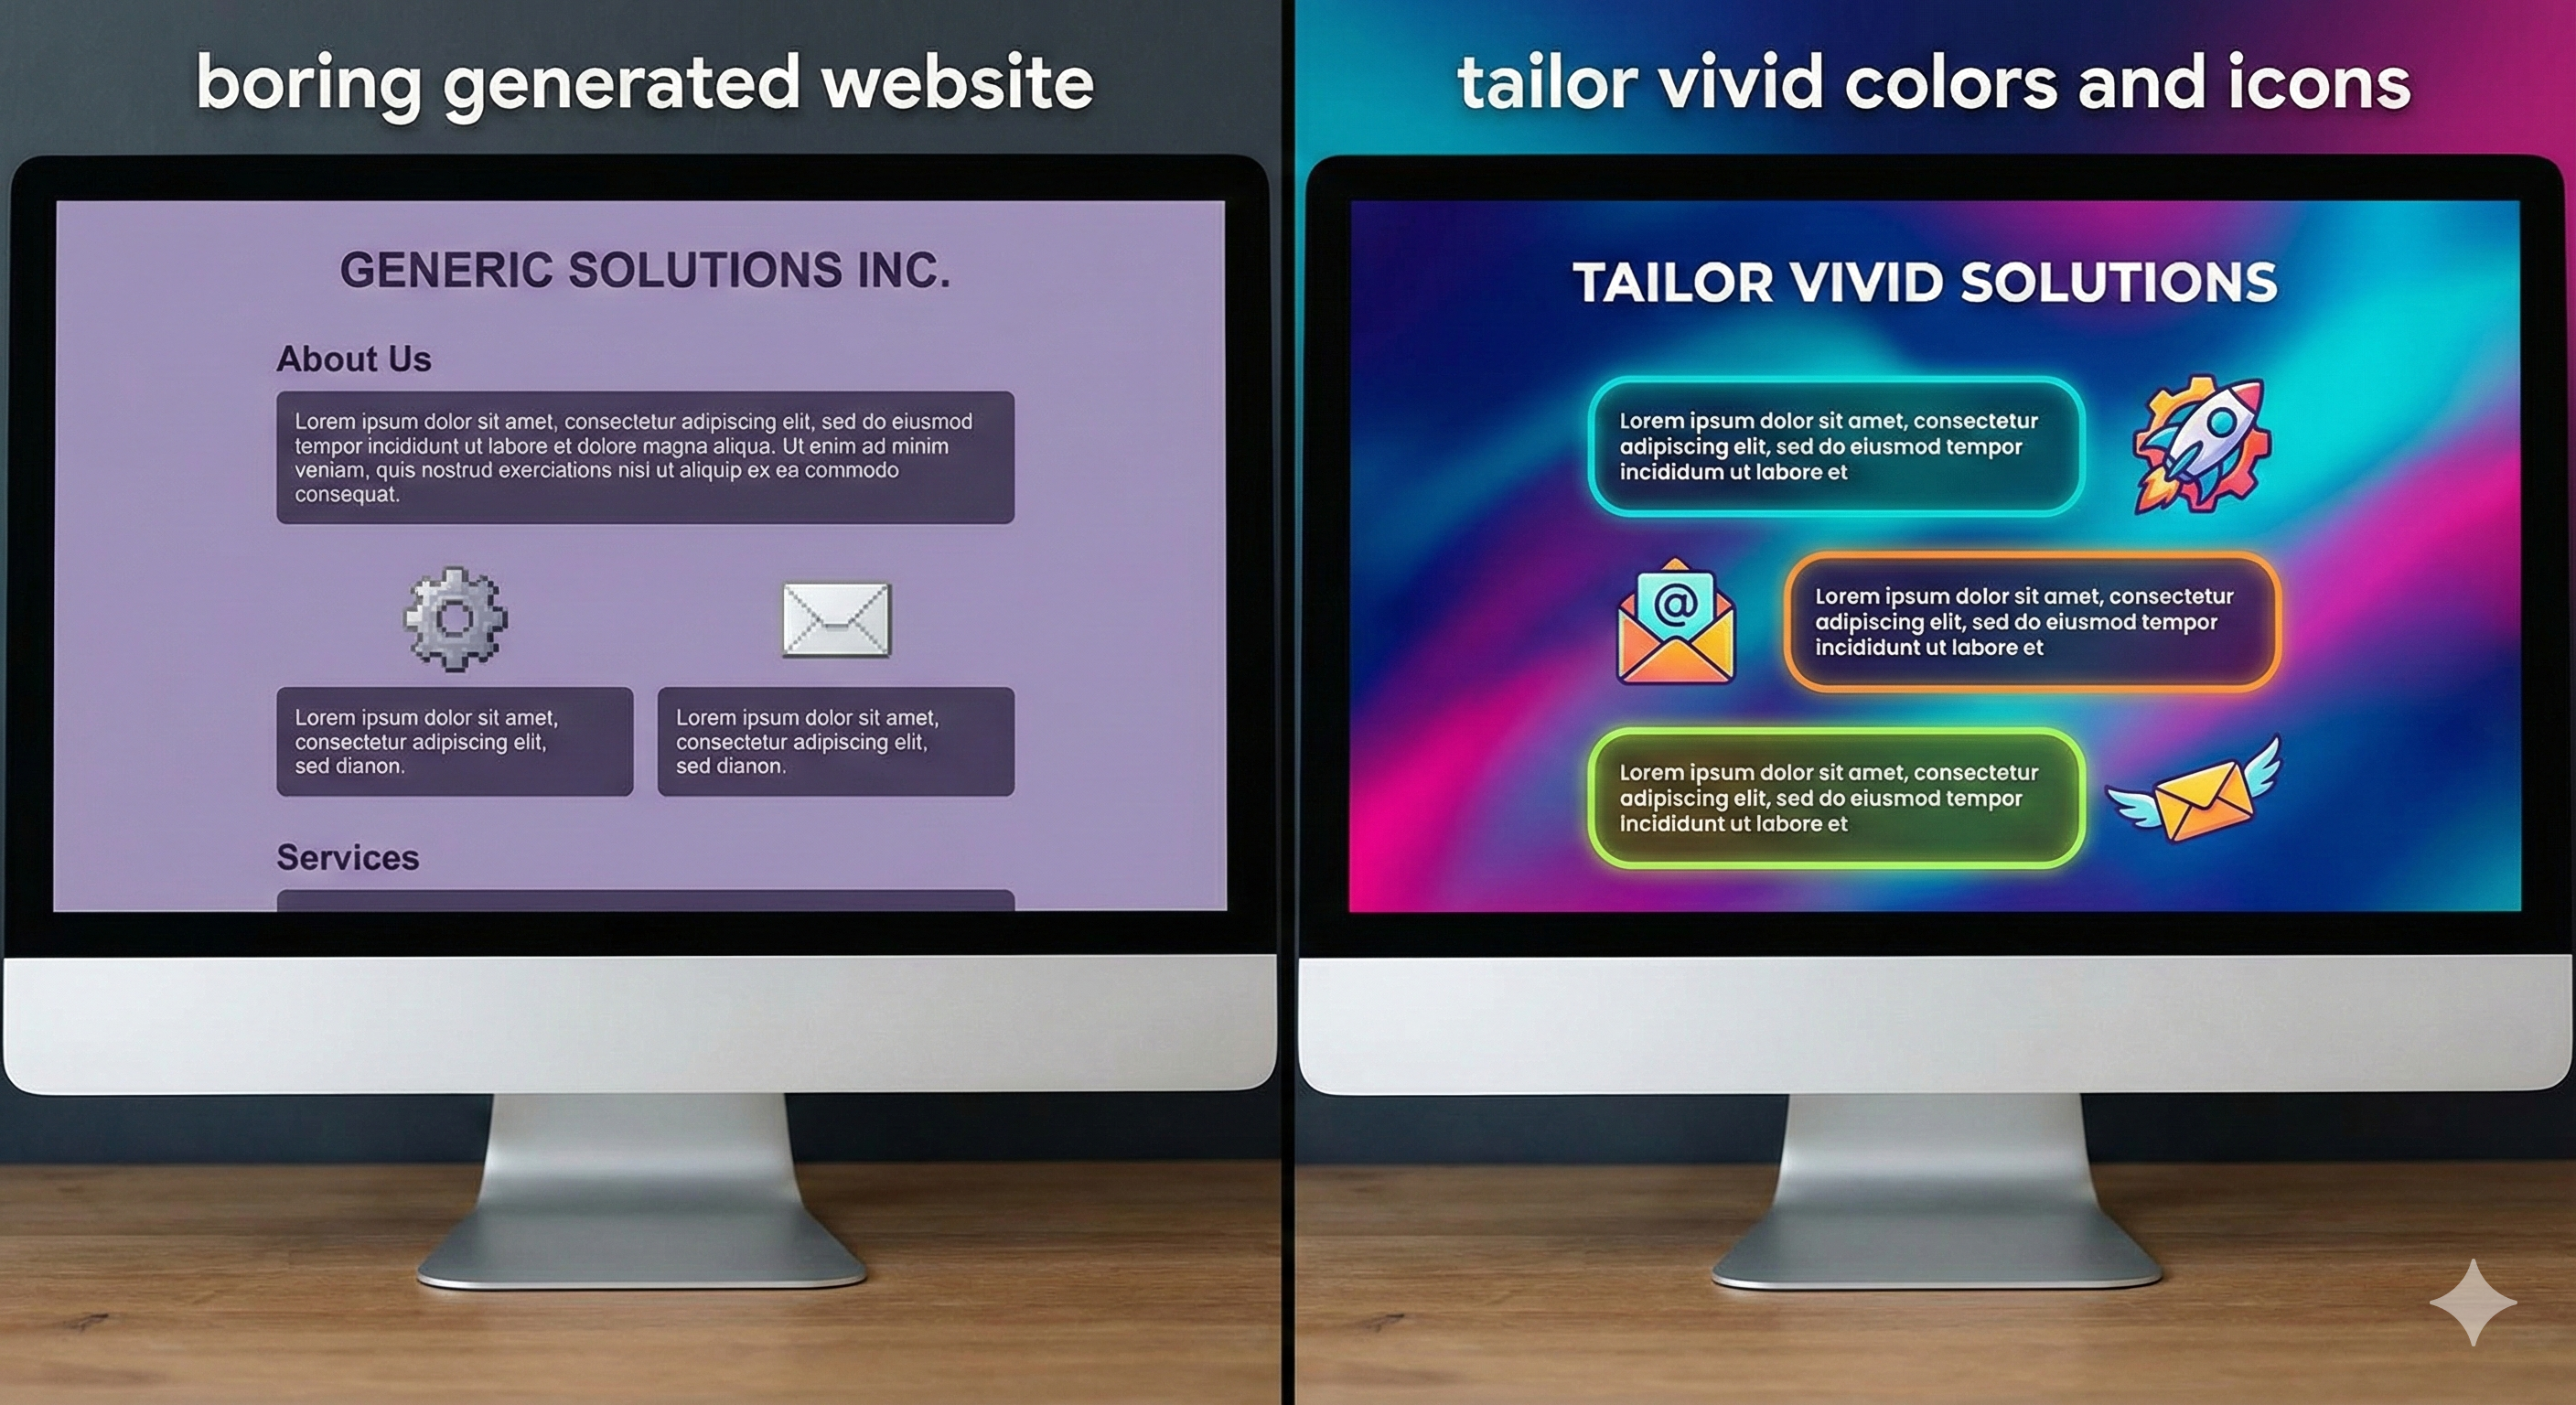
Generated websites are boring and look the same. Always the same purple gradients and old-fashioned icons.
You've seen them a thousand times. They feel temporary. They feel cheap.
But custom, tailored graphics? That's memorable. That strengthens your brand.
I spent way too long figuring out how to create animated assets that actually feel like me—not just generic stock art—and getting them to work seamlessly on the web. The process was messy. Most tutorials are outdated. AI tools kept changing.
So I documented everything.
The Tools You'll Need
Nothing expensive. Nothing complicated.
- Nano Banana (Google's Gemini image model) — for generating images
- Google Veo 3.1 or Adobe Firefly (firefly.adobe.com) — for animation
- CapCut — for background removal (free!)
- Claude Code — for format conversion
Cost Breakdown:
- Claude Code: $20/month subscription (if you don't have it, you definitely should).
- Video Generation: Google Pro account for Veo, or use Firefly's freemium tier.
- Total: Free to start, or ~$20/month for the professional workflow mentioned here.
High Level Flow
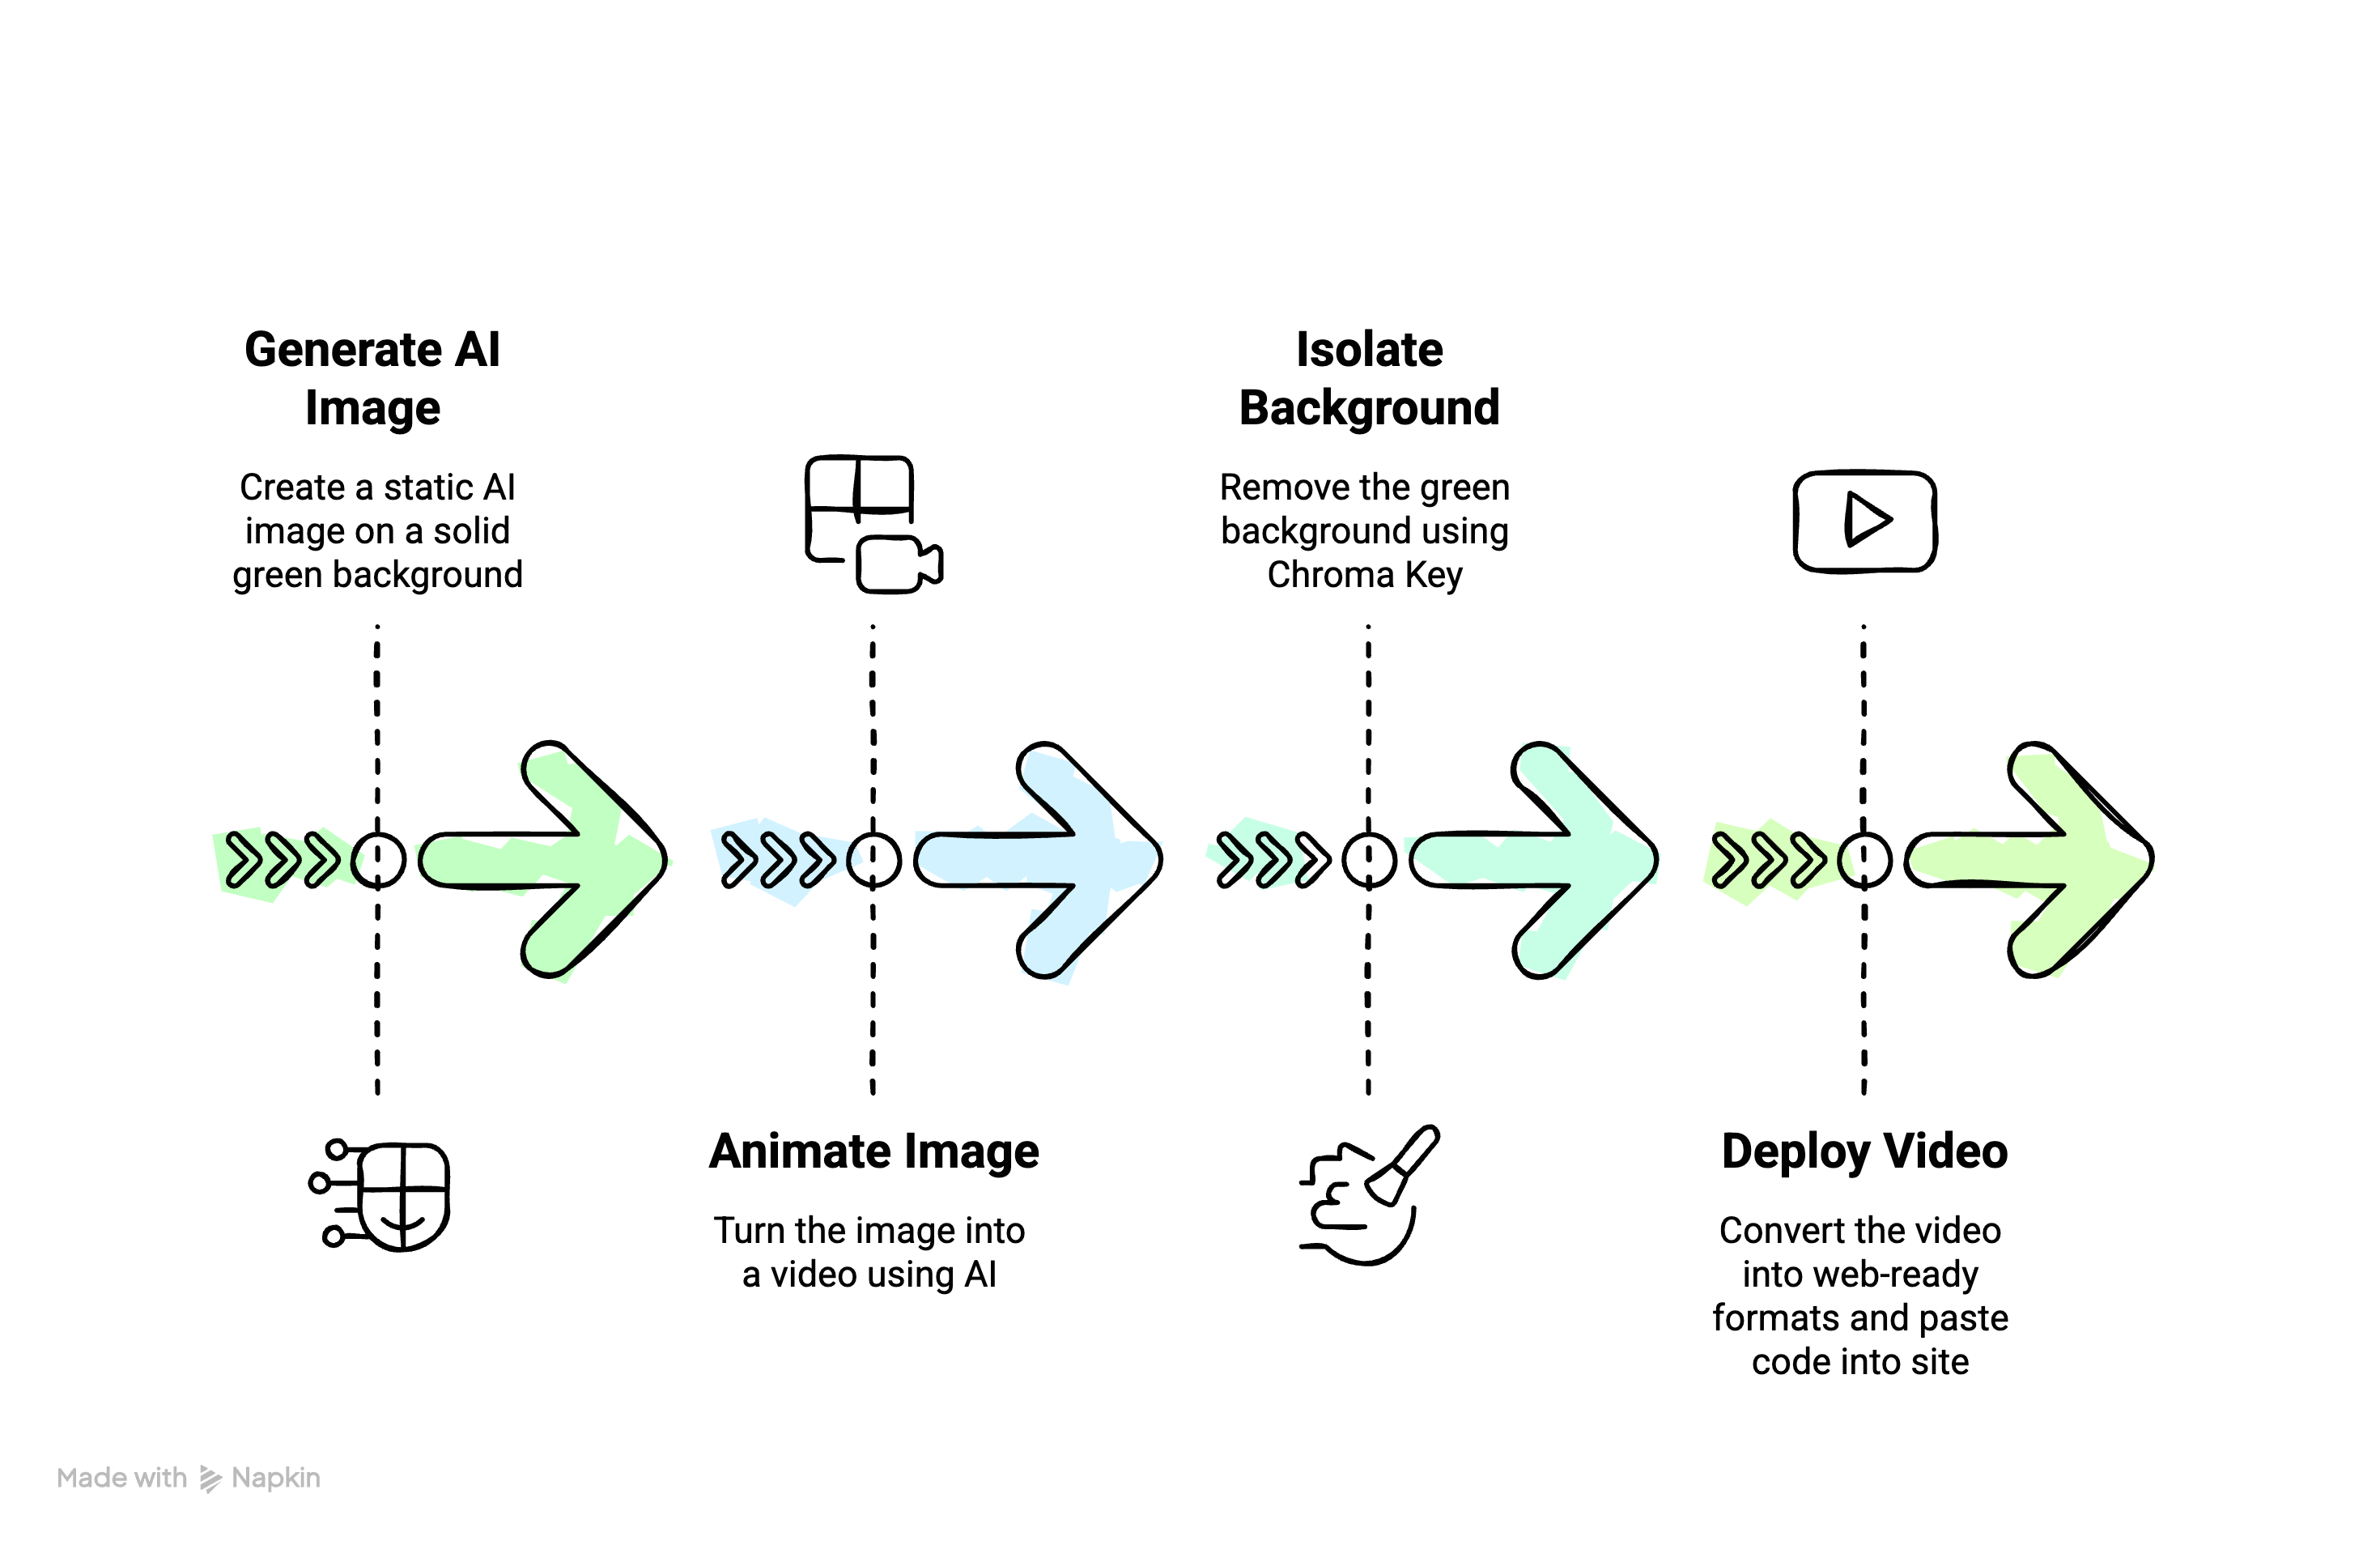
Step 1: Generate Your Image with AI 🖼️
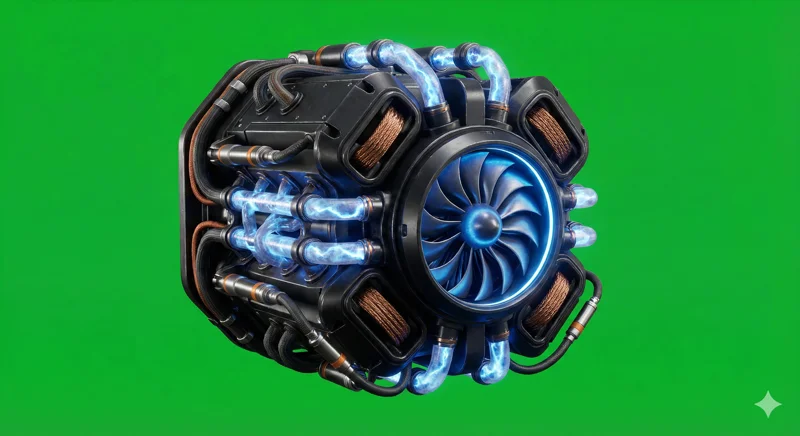
Here's the trick most people miss: start with a green background.
Not white. Not transparent. Bright, solid green (#00FF00).
Why? Because removing a solid green background (chroma keying) gives way cleaner results than AI background removal. It's the same technique Hollywood uses. Keep your subject centered with clear edges. The cleaner your source image, the easier everything else becomes.
Always specify the exact hex code (#00FF00) and request "no shadows on background" — this prevents green color spill on your character.
[Describe your character/object here],
solid bright green background (#00FF00),
centered composition, high contrast,
no shadows on background
Step 2: Bring It to Life ✨
Take your green-background image to Google Veo 3.1.
Upload it. Describe the motion you want. Keep it simple. The key detail: tell Veo to keep the green background solid. If it starts adding shadows or gradients, your chroma key will struggle later.
Simple movements = smaller files. A gentle wave or bounce compresses much better than complex motion. Start simple.
Animate this character with a gentle waving motion,
keep the solid green background intact,
smooth looping animation, 4 seconds
Step 3: Remove the Background 🎬
This is where most tutorials fail you.
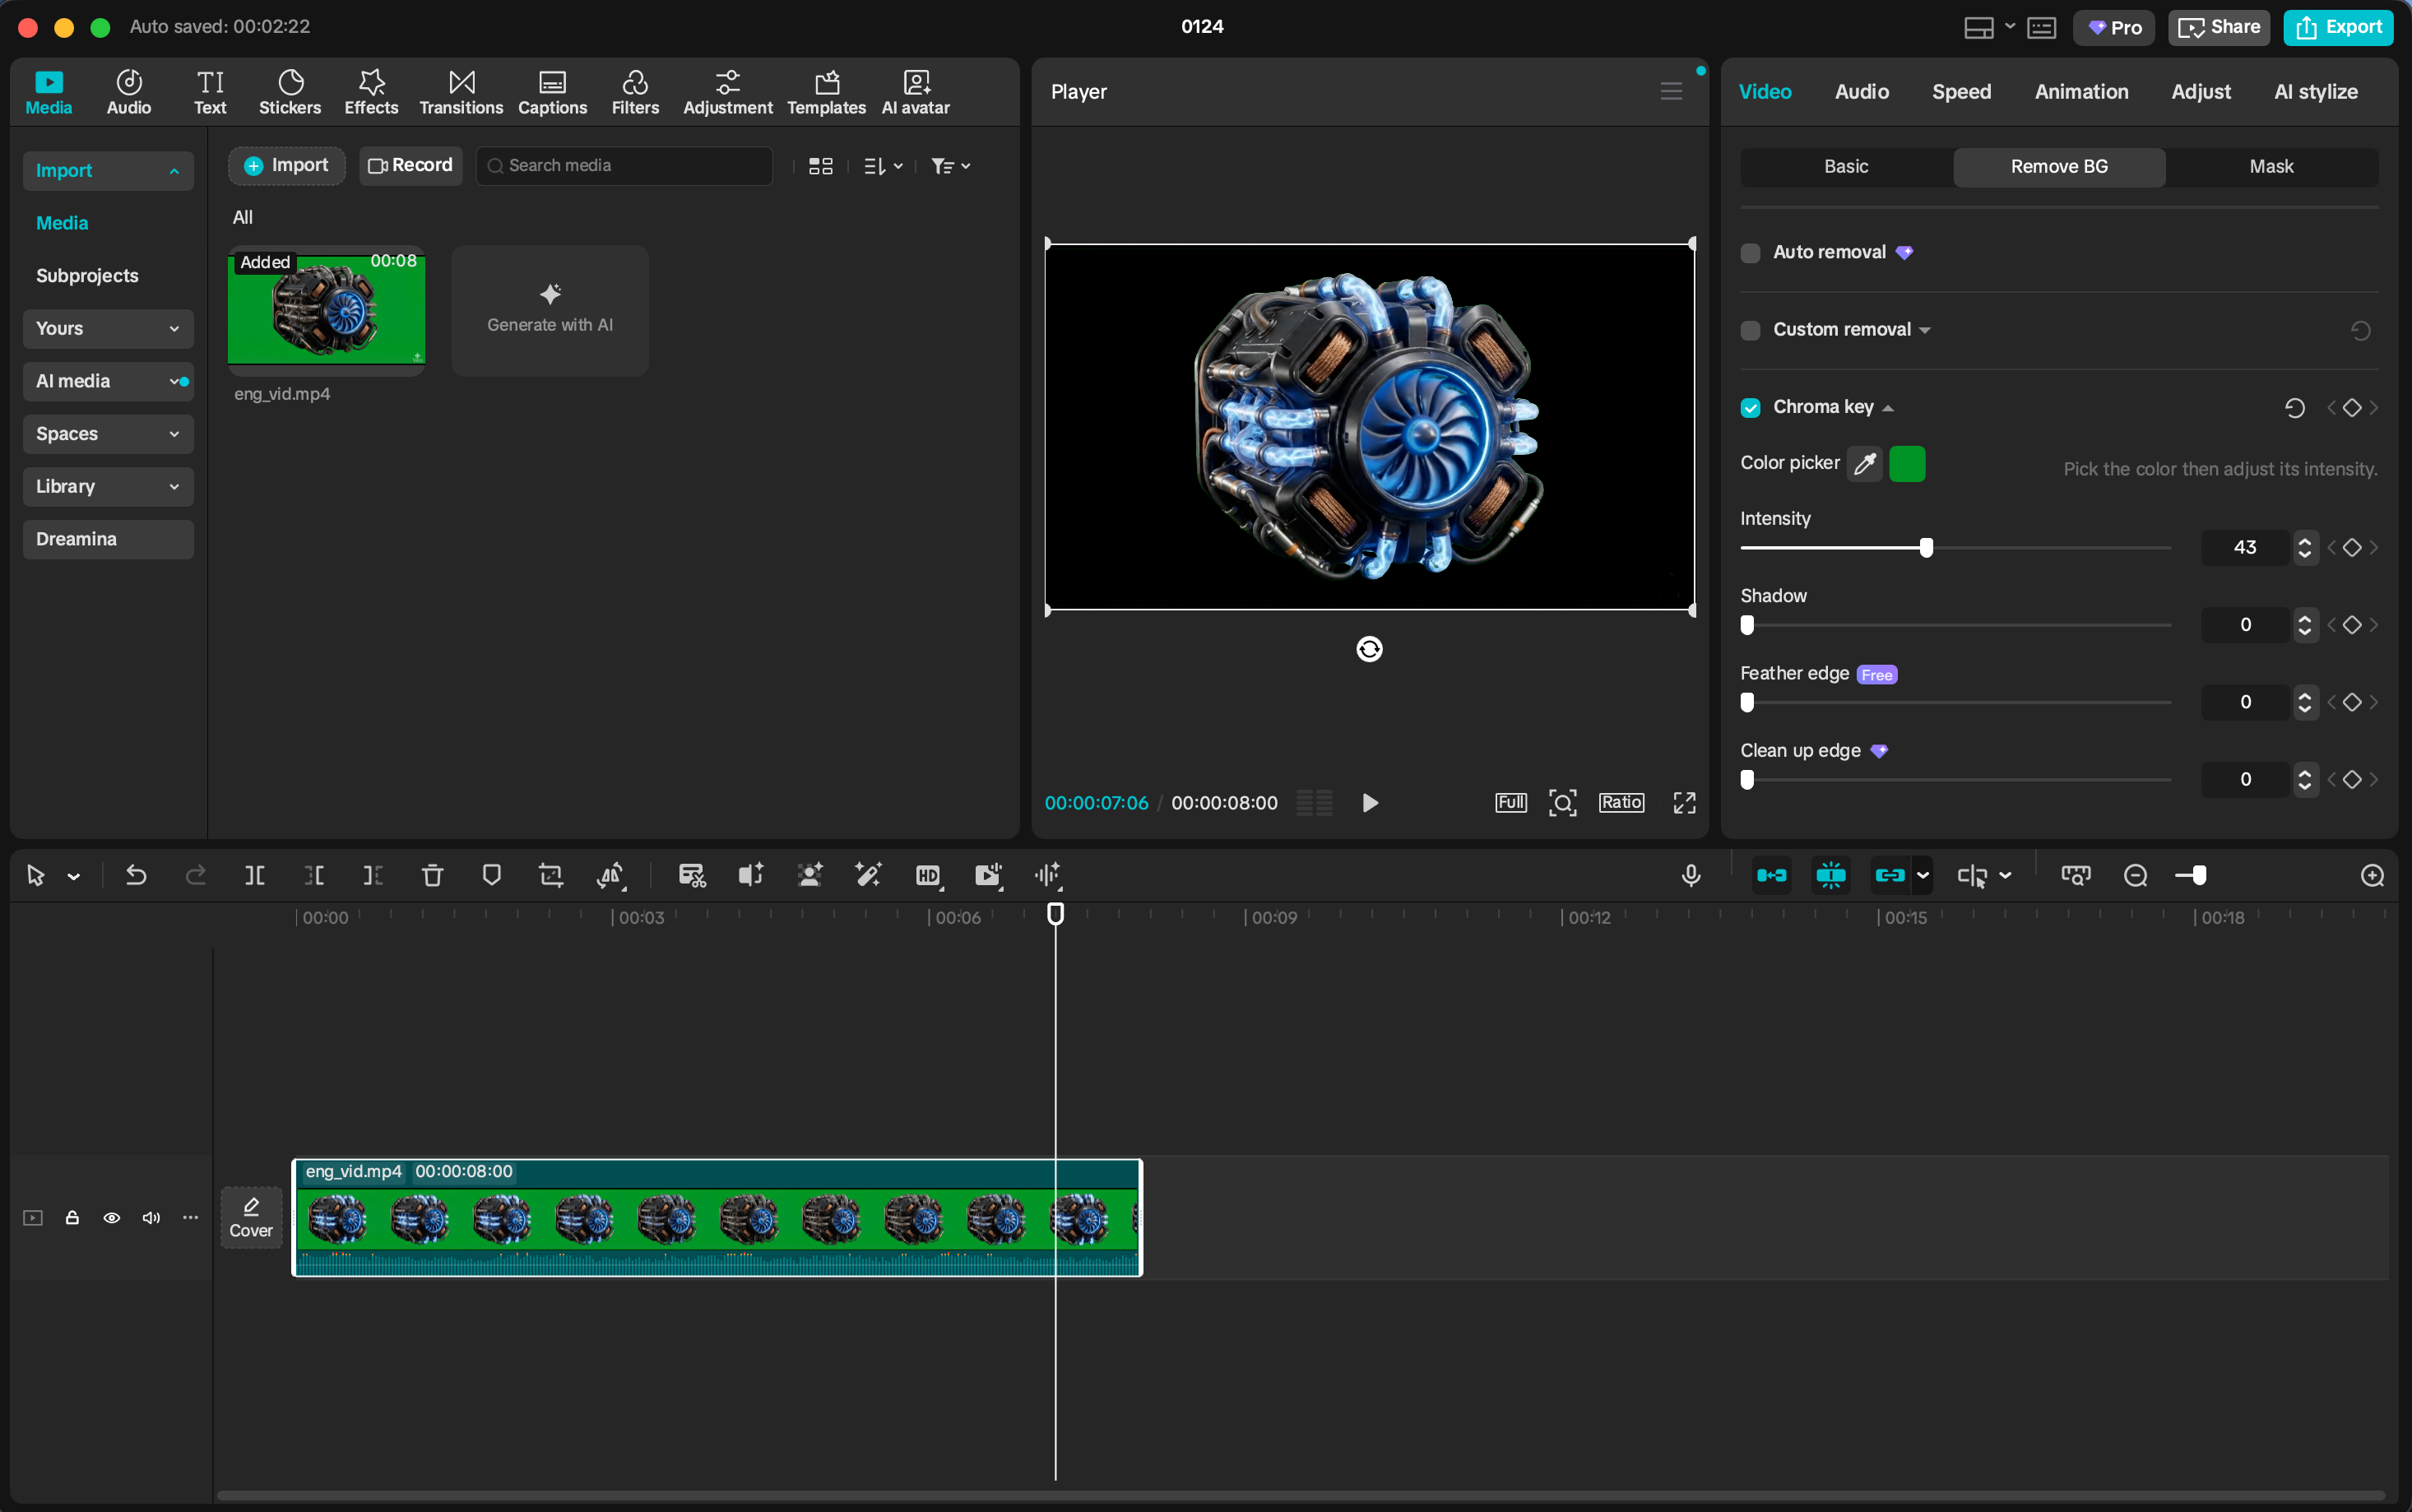
Import your video into CapCut. Now here's the critical part: Use Chroma Key, NOT AI Remove BG.
The AI removal tool is tempting — it's one click! But it produces fuzzy edges and artifacts. Chroma key with a solid green background gives you crisp, clean extraction every time.
Export settings matter. Choose HEVC (Alpha) format. This preserves your transparency channel while keeping file sizes manageable.
The process:
- Import your video to CapCut
- Select the video clip
- Go to Video → Cutout → Chroma Key
- Use the color picker to select the green
- Adjust intensity until edges are clean
- Preview. Tweak. Repeat.
Step 4: Convert for the Web 🌐
Here's the annoying truth: browsers are picky about video formats.
You need two versions of your animation. Claude Code saves hours of headaches — it handles all the FFmpeg complexity. No memorizing arcane command flags.
WebM (VP9 with alpha) works on Chrome, Firefox, and Edge. MP4 (HEVC with alpha) covers Safari and iOS. You need both for full browser support.
Convert my video WIP/mascot.mov to web-optimized formats:
1. WebM (VP9 with alpha) for Chrome/Firefox
2. MP4 (HEVC with alpha) for Safari/iOS
Scale to 480p and compress for small file size
Put It On Your Site
The HTML is straightforward. List both sources — browsers pick the first format they understand:
<video autoPlay loop muted playsInline>
  <source src="/videos/mascot.mp4" type='video/mp4; codecs="hvc1"' />
  <source src="/videos/mascot.webm" type="video/webm" />
</video>
The codecs="hvc1" tells Safari this is HEVC with alpha. Without it, Safari might not recognize the transparency. The playsInline attribute is essential for iOS.
HEVC comes first because Safari needs the specific codec hint. WebM handles everyone else.
Quick Troubleshooting
Green edges on your character? → Adjust chroma key intensity in CapCut. Sometimes you need to expand the color range slightly.
Safari not playing?
→ Check your HEVC codec string. It must be codecs="hvc1", not just type="video/mp4".
Files too large? → Reduce to 480p. Shorten the animation. Drop to 24fps. Simple movements compress better.
The Bottom Line
Four steps. That's it.
- Generate your image with a green background
- Animate it with Veo 3.1
- Remove the background with CapCut's chroma key
- Convert to web formats with Claude
The result is a unique animation that's 100% yours — working perfectly across every browser.
Start small. A simple logo animation. A tiny mascot that waves.
Each project teaches you something. And once you nail the workflow, you'll find excuses to add animations everywhere.
Your website will thank you.
Written by
Marudi
Creator of this website and passionate about modern web deck.